
HOW TO: Pre-install a Let's Encrypt SSL cert BEFORE pointing your DNS
When it comes to transitioning your site between hosting providers, one common issue you can run into is a little window of what could be considered "downtime" due to the absence of an SSL on the new destination.
If you use a service like Cloudflare, you already have the option to use their wildcard SSL for free, which remains in place during any server move.
On most WordPress managed hosting providers, you can issue free Let's Encrypt certificates for your domains. The one caveat is that the DNS records must already be pointing to that host - this is how they validate you control the domain and are the rightful owner of the certificates. On the upshot, it's super quick (averages about 4 minutes to issue, at time of writing).
The downside comes into play when you have a site that UNDER NO CIRCUMSTANCES can become unavailable (or show a security warning in the browser) during a transition/migration.
Not to worry though! Here's how you can generate your own Let's Encrypt certificate using a free tool called Certbot so your managed hosting provider can install it for you ahead of a DNS switch.
Setting up and using certbot
Steps 1 to 4 are specific to Linux. If you need to use a Mac, you'll want to install Homebrew and run
brew install letsencrypt- then pick up from step 5. All other supported platforms are listed here.
Install Let's Encrypt certbot to generate certificates with Ubuntu:
- Install python software properties:
sudo apt-get install software-properties-common python-software-properties - Add certbot repo:
sudo
add-apt-repository ppa:certbot/certbot - Update:
sudo apt-get update - Install certbot:
sudo apt-get install python-certbot-apache - Run certbot like this:
sudo certbot --manual --preferred-challenges dns certonly - You should see this text prompting you to enter your domain name:
I've added *.403page.com as an example. This is called a wildcard certificate and will cover all subdomains for the domain. You can also, specify domains in a space-separated list (i.e.
403page.com www.403page.com shop.403page.com). - Accept the
Are you OK with your IP being logged?prompt: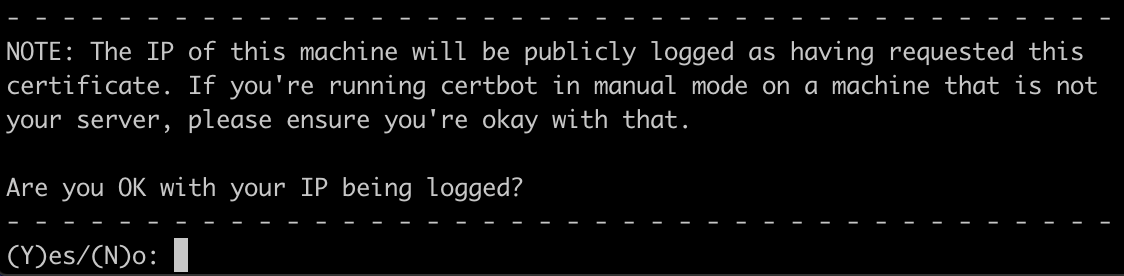
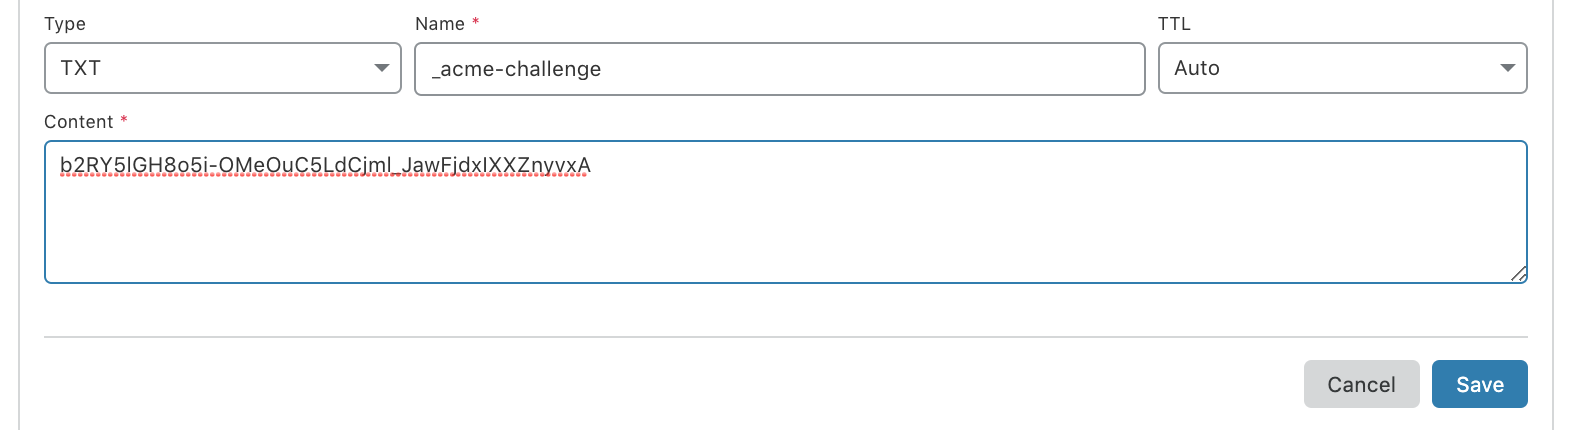
- Add a TXT record to your DNS setup:
After accepting the IP logging prompt you'll be shown a value to add as a TXT record at your registrar (Cloudflare, Namecheap, etc.). It looks something like this:
 _acme-challenge.403page.com with the following value:
 b2RY5lGH8o5i-OMeOuC5LdCjml_JawFjdxIXXZnyvxA
Before continuing, verify the record is deployed. - Here's what adding the record looks like on Cloudflare:
- Wait for the DNS to propagate:
You can check the progress of the propagation using a tool like https://www.whatsmydns.net/#CNAME/. Remember to check the _acme-challenge subdomain (for example,
_acme-challenge.403page.com). - Complete the validation:
Once you see some green checks with the above tool, go ahead and
Press Enter to Continue. If all goes well, you should see a "Congratulations" text along with directions to where the key and certificate were saved on your machine. - Get the certificate and private key to your hosting support:
The most secure method here is to take the 2 files that were generated and upload them over SFTP to your hosting environment. In my case, the files were:
/etc/letsencrypt/live/403page.com/fullchain.pem (cert)
/etc/letsencrypt/live/403page.com/privkey.pem (key)
The easiest next step is to cat out the file contents in your terminal and paste them to a text file so you can share them:sudo cat /etc/letsencrypt/live/403page.com/fullchain.pemandsudo cat /etc/letsencrypt/live/403page.com/privkey.pem
Just copy and paste the output from both files into a new text file and get that to the secure directory over SFTP and open a chat window with support. They can install the certificate and key for you. - IMPORTANT - Taking care of auto-renewal:
Now that you've got the SSL waiting for your domain, you can go ahead and switch the DNS to point to your host without the fear of an insecure browser warning causing unavailability. Once the main domain's DNS is pointed, be sure to go to setup Let's Encrypt properly through your hosting provider. This will ensure that that certificates auto-renew (these certificates last for 90 days but having them set to auto-renew means you won't notice).
- OPTIONAL: Clean up
Once the new certificate in processed within your hosting providers' tools, you may want to revoke the certificate you made locally as good security practice. Just run this command - replacing {YOUR_DOMAIN} with your actual domain(s):
sudo certbot revoke --cert-path /etc/letsencrypt/archive/{YOUR_DOMAIN}/cert1.pem
IMPORTANT: DO NOT SHARE THE ACTUAL PRIVATE KEY OVER ANYTHING OTHER THAN SFTP.